When it comes to enterprise storage, Server hosts are always looking for a way to increase the speeds of their servers.
Hard drives have advanced quite a bit but are limited to a platter and SATA connections.
When SSD’S were introduced, they offered a much faster experience with flash storage but still are limited to a SATA connection.
Finally we have NVME drives. Which offer unparalleled amounts of speed thanks to drive slots being directly connected to the motherboard,
but how do get NVME speeds on older boards such as a Supermicro X10? Well thankfully expansion slots such as 16x PCIE have the answer.
Today we are going to show how to install a NVME drive on a server using PCIE.
Before we begin, you will need a couple things first.
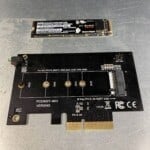
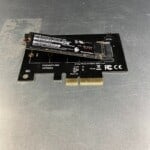
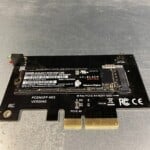
We need a server, a riser card for smaller chassis, an NVME drive, and lastly a M.2 PCIE card/Adapter.
Once we have all the materials we can start putting it all together.
- Step 1- Open server to expose motherboard. We are going to find the PCIE slots for our riser card.
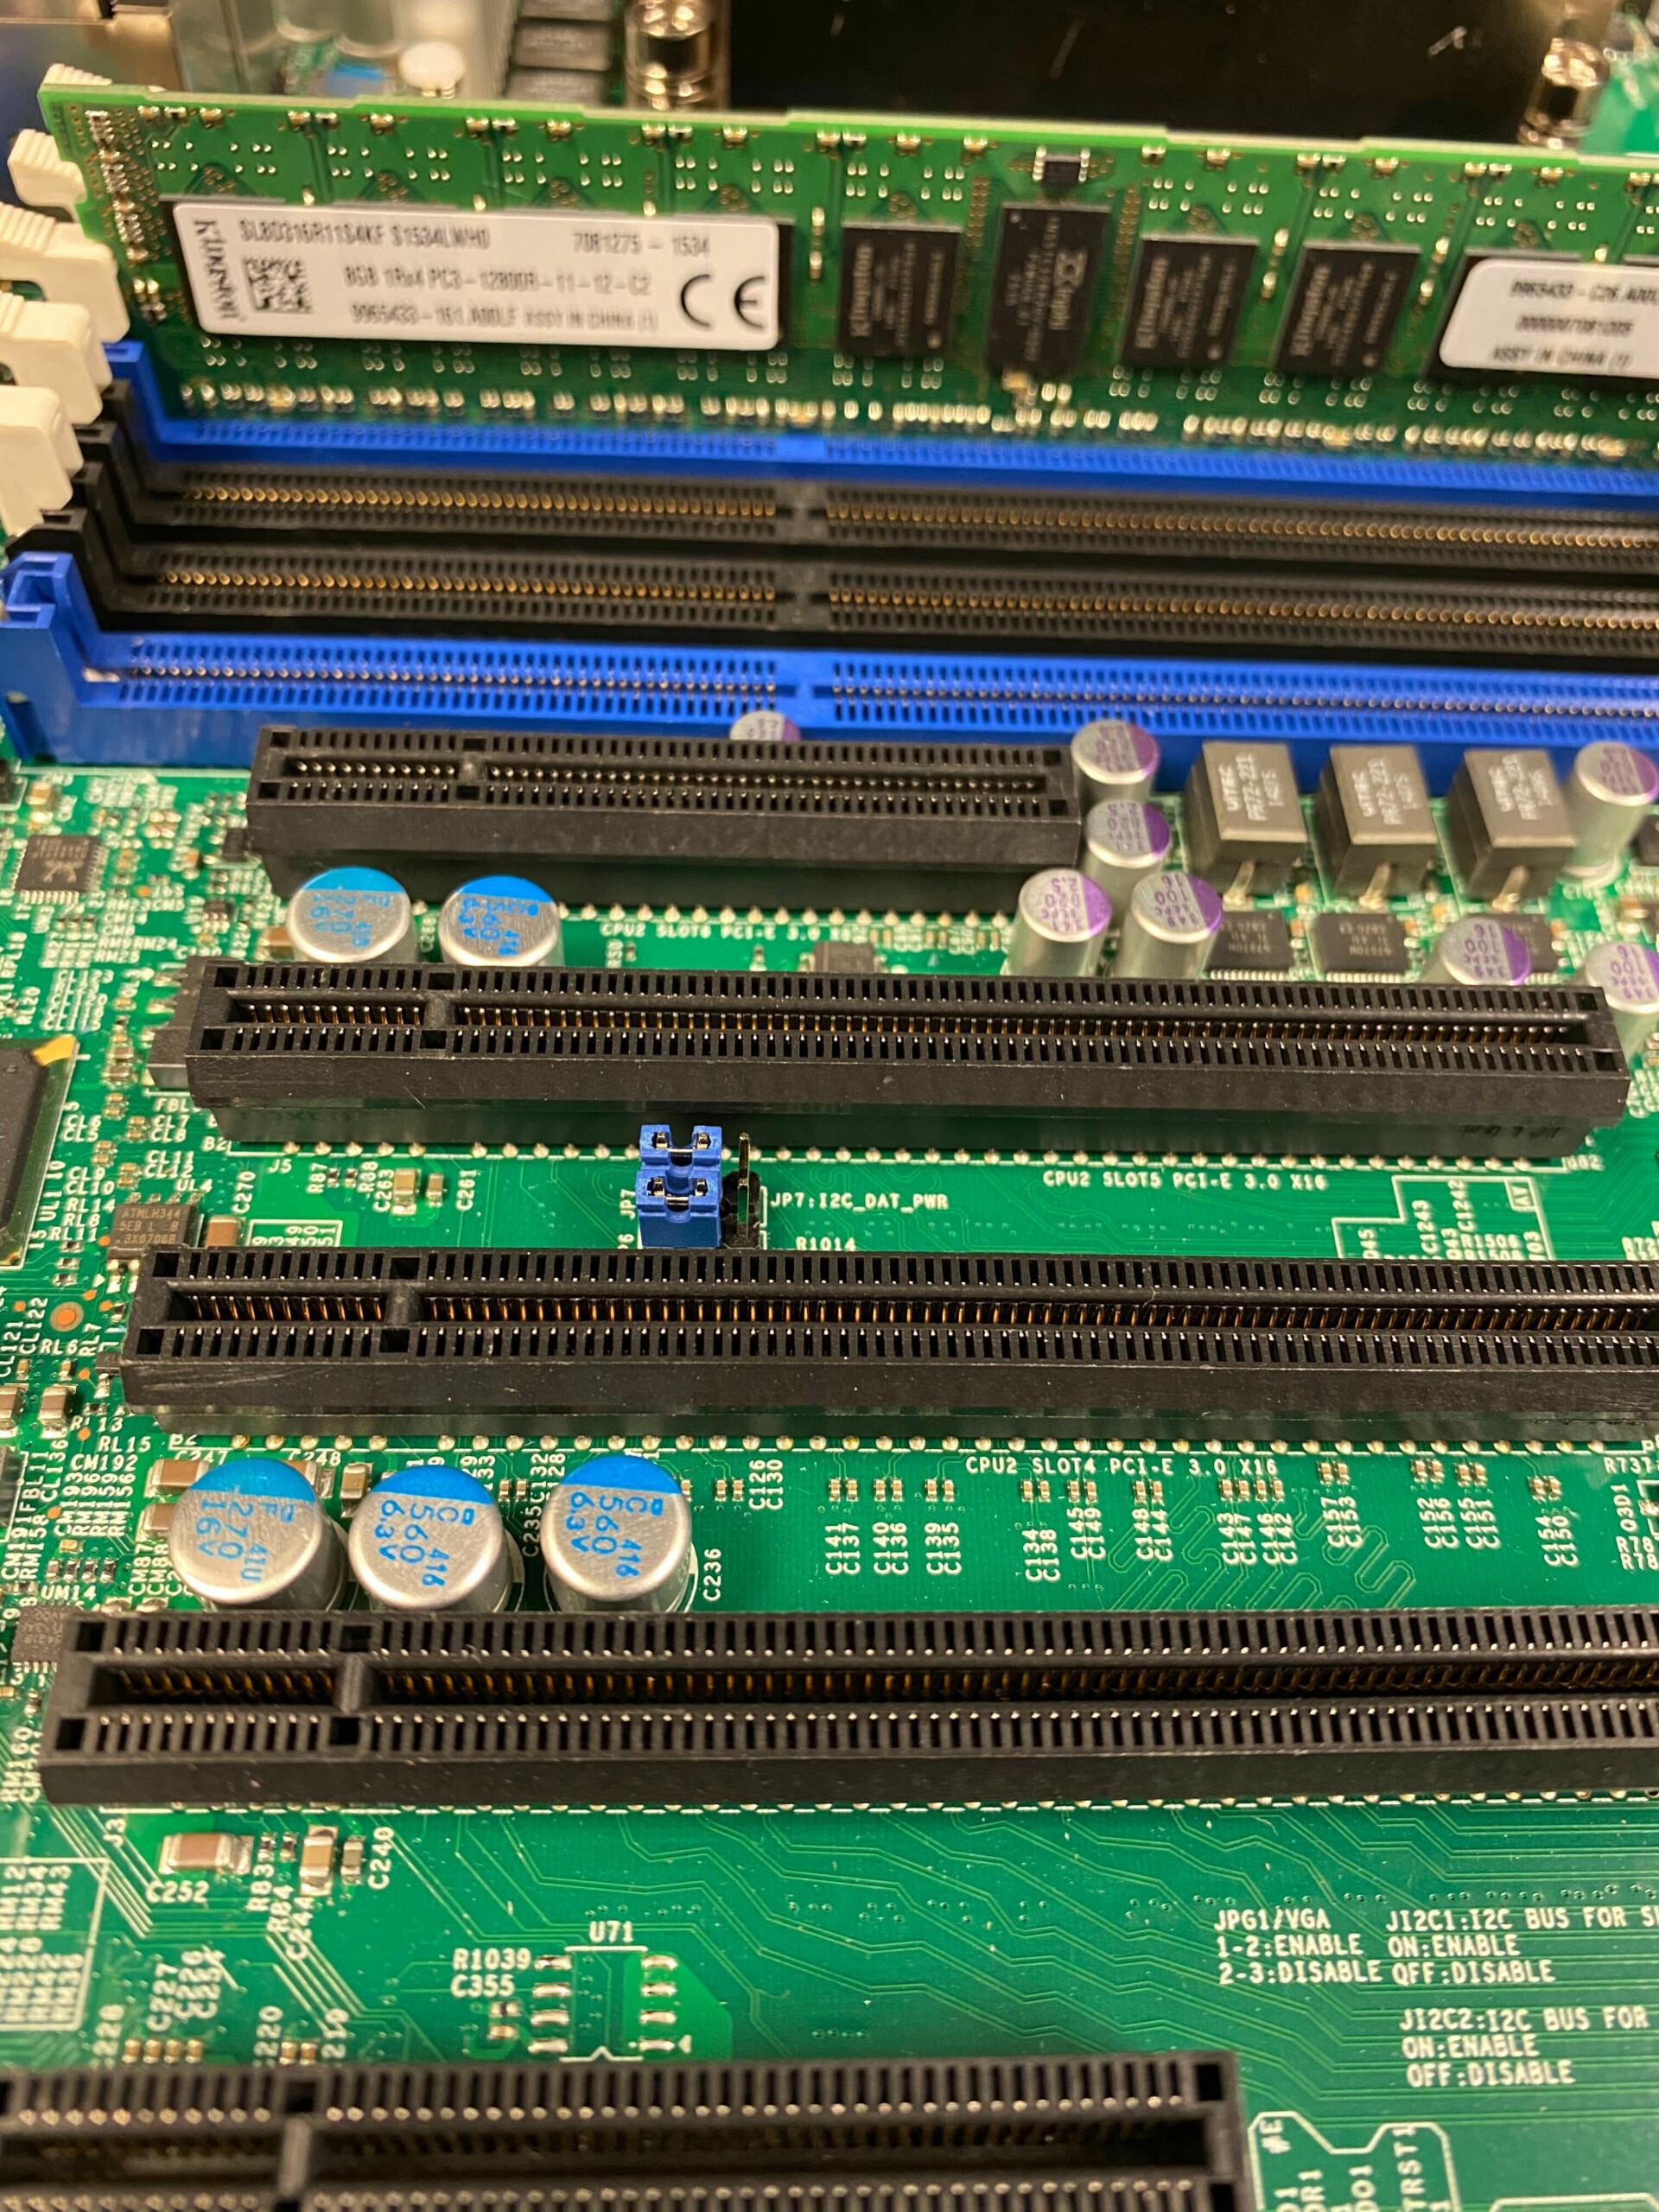
- Step 2- Install riser card into PCIE slot. This is how we will install our M.2 card in a small chassis.

- Step 3- Take M.2 card/Adapter and install NVME drive onto it. You may need to take the top cover off in order to expose the screw holes for the standoff as well as the slot for your drive.
Once the cover is off, you may proceed with the drive installation. You will want to insert the drive at a 45 degree angle and slightly push into the drive slot. Once it is in all that is needed is screwing it in to the standoff.
- Step 4- Now all we need to do is insert our card/adapter into our riser. Once you have inserted it into the riser,
go ahead and power on your server and boot it into bios. We are going to make sure the drive is seen. Once you verify the drive
is there, you are all done!s Now you can reap the speeds of an NVME drive on your server.