We all know by now that MySQL stands out as a competent database for TOO MANY projects!
Regardless of your business size, MySQL can deliver unmatched performance at the lowest prices.
Consequently, it is the most popular open-source database globally, a more reason for learning how to install MySQL.
Additionally, it is commonly installed as part of the popular LAMP stack (Linux, Apache, MySQL, PHP).
By the end of this MySQL tutorial
- You’ll be able to run a complete MySQL installation using the Ubuntu operating system.
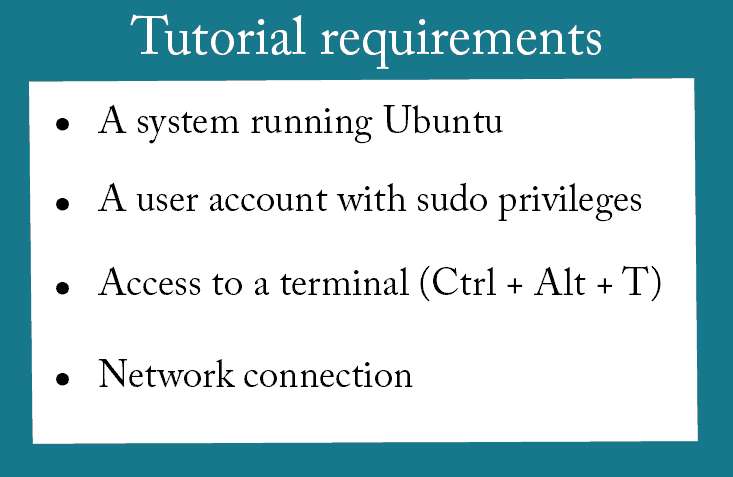
MySQL tutorial requirements
Step 1: Update package repository
To do this, you’ll need to open the terminal and run the following command:
- sudo apt update

Next, enter your password and wait for the package manager to finish updating.
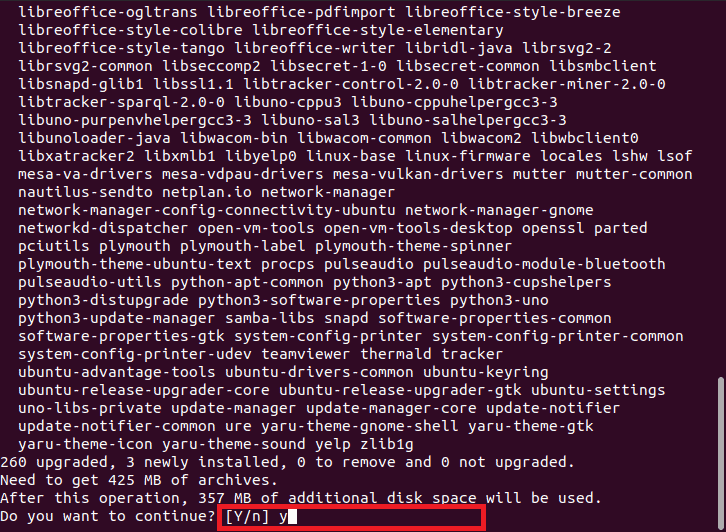
Afterward, type in your terminal:
- sudo apt upgrade
When asked for confirmation, hit Y, then ENTER, to proceed and finish upgrading.
P.S. Make sure you have enough space before upgrading.
Critical note: starting by updating the system package repository will:
- Guarantee you the latest MySQL version installation.
- protect your outdated software
- shorten future updates time
Step 2: Install MySQL on Ubuntu
Now that we successfully updated the package repository, it’s time to install MySQL Server.
Do that by inputting the following command:
- sudo apt install mysql-server
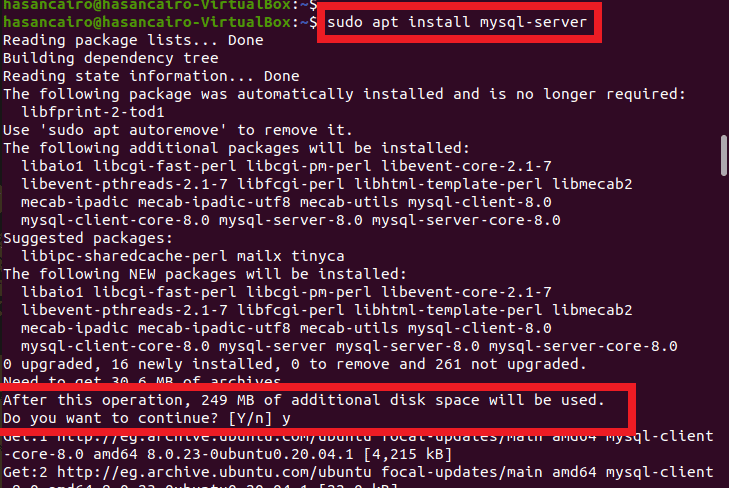
As usual, hit Y, ENTER, and make sure you have enough space for installing MySQL.
Optional: check if you successfully installed MySQL by running:
- mysql –version

Step 3: Securing MySQL
MySQL is indeed insecure after installation, but we are about to fix that in the next 2-minutes!
- Enhance your MySQL user account security with a password by running this security script:
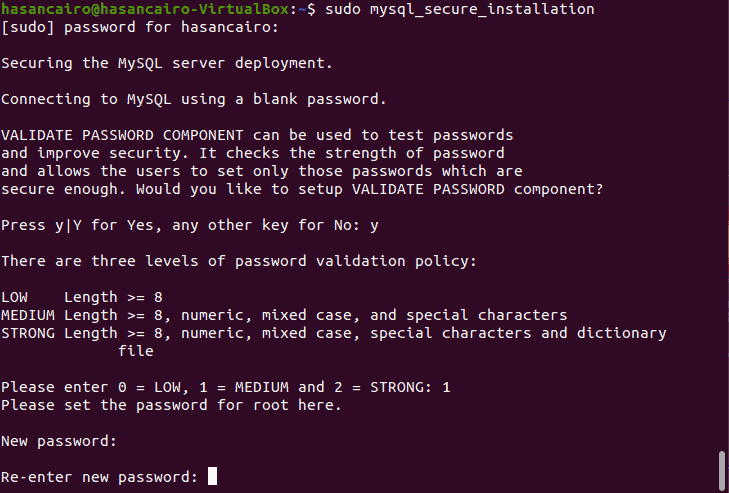
- sudo mysql_secure_installation
- Enter your password, input Y, and choose the password difficulty level you want.
- Pick the password strength you want, put in your password, then re-enter it for confirmation.
- Once you are satisfied with the program’s estimated strength of your password (scales from 1 to 100), hit Y.
“As crystal clear in the screenshot below, there are three levels of difficulty”:
0 – Low: A simple password with at least 8 characters.
1 – Medium: A normal password with at least 8 characters, including numeric, mixed case, and special characters.
2 – Strong: A hard password with at least 8 characters, including numeric, mixed case, special characters, and dictionary file.
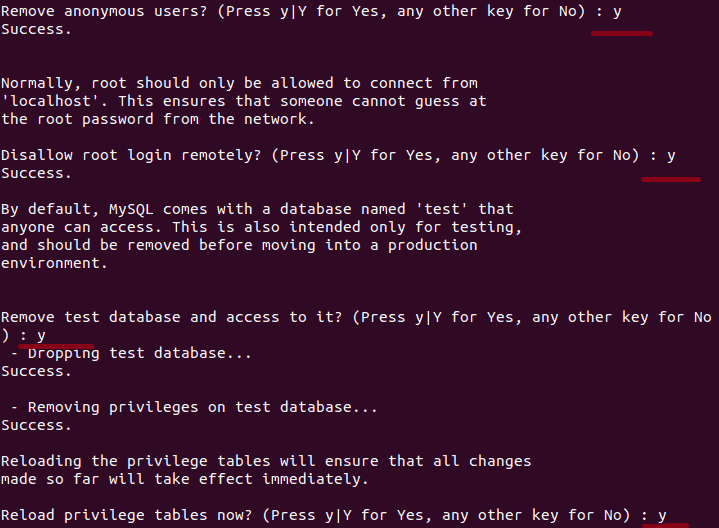
Extra: The terminal script will promote the following security features next:
- Removing anonymous users
- Disallowing root login remotely
- Removing test database and accessing it
- Reloading privilege tables
Normally, you would put in a Y for all the questions.
However, shall you wish a different outcome for whatever reason, enter any other key than (Y).
Step 4: Checking MySQL service up & running
Then, despite how you installed MySQL, it should start running automatically.
Verify MySQL status by typing:
- systemctl status mysql.service
Since you came all this way by following everything meticulously, it’s time to gain the fruits of your dedicated work!
Prepare to witness an output like this:
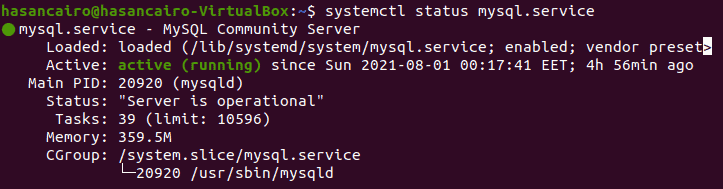
In English, this means that MySQL is now up and running!
Step 5: Log in MySQL server
It’s about time you log in to that MySQL server you created yourself!
Your final step would be to enter the following command:
- sudo mysql -u root
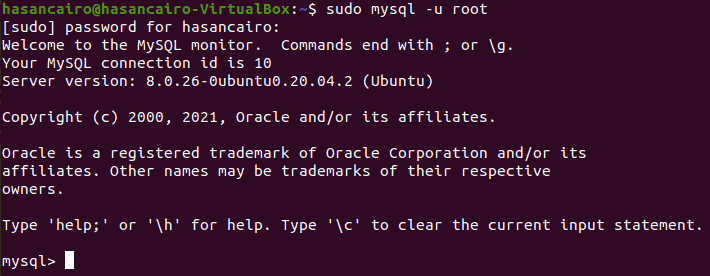
Voila, this is it!
Now you can use MySQL for data warehousing, e-commerce, creating web databases, plus many more!
Also, feel free to take a look at the MySQL installer while at it.
Instantly create your website with ServerHub
ServerHub offers 100% Uptime, 24/7 support, and multiple single 40GB interface connectivities.
Spanning 9 locations globally, offering dedicated servers, custom quotes, and unprecedented prices.
Please give us a hello at [email protected] and let us guide you freely to your own website.
Conclusion
With a basic yet fully functional MySQL server installed on your server and your database server that is up and running.
Nothing can stop you from seeking the endless possibilities of MySQL’s major advantages and discovering the best ways to optimize your business with them!
This tutorial is a part of the LAMP stack guide series.
Check out the rest of the series:
How to install the latest Ubuntu Linux? Beginner’s guide
How To Install Apache On Ubuntu? The Comprehensive Guide
How to Install PHP on Ubuntu 20.04? Step-by-step Easy Guide
Or check out other most visited articles:
How To Install A FiveM Server On Linux
MySQL: The Most Popular Open-Source Database
Excellent post. I was checking constantly this blog and I am impressed with this effortless tutorial
Keep going
I was seeking this certain information for a very long time. Extremely helpful info specifically the last part 🙂 Thank you.
Would love to perpetually get updated outstanding web blog!
Nothing can get more complicated than these things, let’s hope Ubuntu doesn’t lunch a new version soon where any of these steps would change? anyway great post
I have been trying to install MySQL today, the way I compared this to other tutorials I found made this article stand out
Waiting for the PHP tutorial