In this article we are going to cover step by step how to utilize Supermicro IPMI to download and install your own provided Operating System on your ServerHub Bare Metal Server.
So you have a server that needs an OS, but you are in California while your server is in a New York data center?
Well luckily servers have a nifty tool for accessing them remotely called IPMI
First you will want to make sure the OS you are going to use is actually compatible with your server.
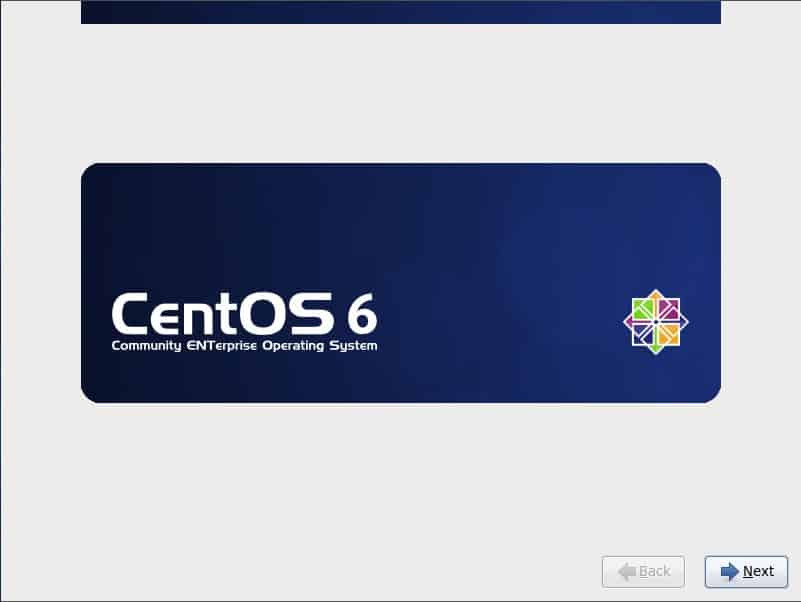
For our example we are using a Supermicro X10 board and CentOS 6 minimal.
Step 1– Download desired OS to your computer.
Step 2 – Log into server IPMI and open the console.
Step 3 – Once the Console is open, look at the top left of the window. There should be an option called virtual media. Click on that and then click on virtual storage. This will allow us to load our OS installer on the server with a virtual disk.
Step 4 – Once we are in the Virtual storage, we are going to choose the logical storage drive type. Select ISO image. Then we are going to choose the ISO image we downloaded earlier.
Once chosen select Plug in and click OK. Note the box labeled Connection Status History will show whether the ISO is mounted correctly or not.
Step 5 – Reboot server into the installer. We can boot in to the installer by changing the boot settings in BIOS or by using the boot options.
Step 6 – Proceed with Installation process.
Congratulations! You just successfully installed an OS using your IPMI

How to Download and Install an OS using IPMI
What’s your Reaction?
+1
+1
+1
1
+1
+1
1
+1
1
+1
6